
YouTube Channel
How To Turn Sketches Into Exportable Files
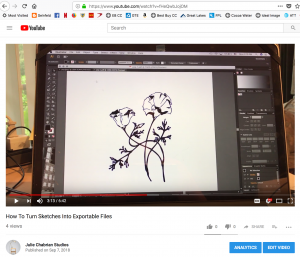
The Julie Chabrian Studios YouTube channel has a new video on how to take a sketch and turn it into a vector graphic using Adobe Illustrator. This process digitizes your hand drawings and converts them into a file format which can be utilized for various 2-dimensional manufacturing processes, such as a laser engraver. The result allows you to manipulate and export your image in several different file extensions, like .pdf, .svgz, and .dxf.
First, a quick explanation of how I got into this. I started developing this process because I needed to figure out a way to “sign” my sculptures. If you are familiar with my work, you know that I work mainly in metal and my pieces generally do not have an obvious place to put a signature (although there are many forms of signatures one can find on a piece of artwork). Nor do my sculptures provide a convenient location for permanent placement.
To solve this dilemma, I decided to create a signature tag, similar to that commonly referred to by ceramicists as a “chop”. A Chop is a custom handmade stamp which a ceramicist uses to make an impression on their work, such as a symbol, initial, or some other detail that specifies who made it. You can also find it on the corner of some Japanese woodblock prints.
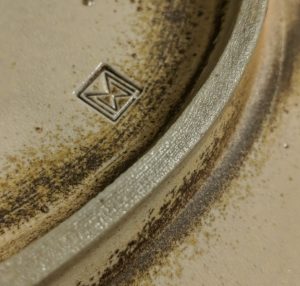
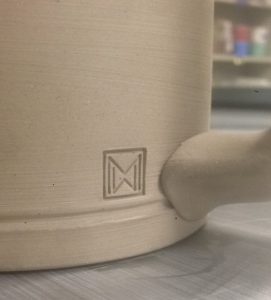
Above is an image of William Mueller’s chop on his ceramic pieces. The chop is a nicely designed combination of his initials, “W and M”.
Unfortunately for the sculptures that I already have made, there isn’t an easy way to alter their surfaces as in ceramics. So I am making an aluminum label which can easily be attached to difficult surfaces on the sculptures utilizing an epoxy adhesive. In the future I may do something else, but for now I’m going to have a shop laser engrave my design that includes my signature onto a piece of aluminum, and then permanently adhere it to my sculpture.
Now I will explain the process I used to digitize my hand drawings, so you can try at home too, if you have Adobe Illustrator.
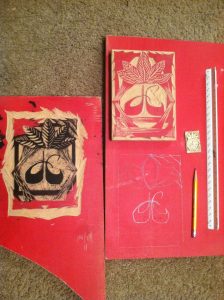
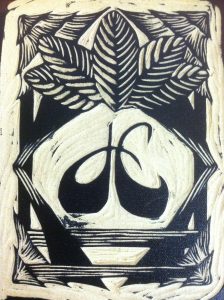
I decided to use a woodblock design that I originally made for my surfboards, which has become my studio logo.
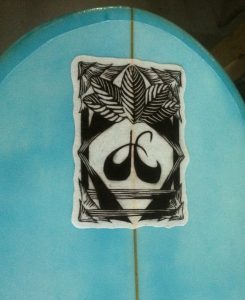
I already had made my surfboard logo into a vector graphic in Adobe Illustrator, so the last thing I had to do was add my signature.
Begin by making a few signatures on a piece of paper with a pencil until you find one you like. The next thing I did was make sure that the signature was relatively dark/thick and didn’t have any smudge lines or stray pencil marks. Go for smooth, sharp edges. Then place it on a scanner and scan it to your computer. Crop the image and save it at a relatively high dpi as a JPEG.
Next, open the JPEG in Adobe Illustrator, select the image and click “Image Trace” up at the top menu bar. There are a couple options under the “Image Trace” drop-down box, but I chose “Black-and-White Logo”. Once the program completes that action, click “Expand”. If you had sharp enough edges on your drawing, the program will have found them easily. Now your sketch is in outline form as if it was drawn with the pen tool. Pretty neat! From here you can edit or clean it up. Make sure to save it at this point. Select it and drag-and-drop where you want relative to your other designs on the logo.
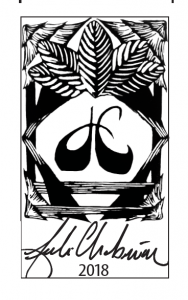
Once I had all the elements of my logo together, I played around with a couple different design ideas. I moved and sized the three elements until I found a layout that I was happy with.
I had two different versions engraved, one with a horizontal orientation and one with a vertical orientation. This way I can accommodate different locations on my sculptures for the nicest fit.
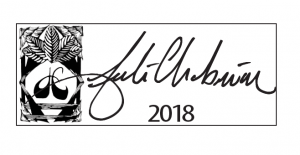
I had two different versions engraved, one with a horizontal orientation and one with a vertical orientation. This way I can accommodate different locations on my sculptures for the nicest fit.